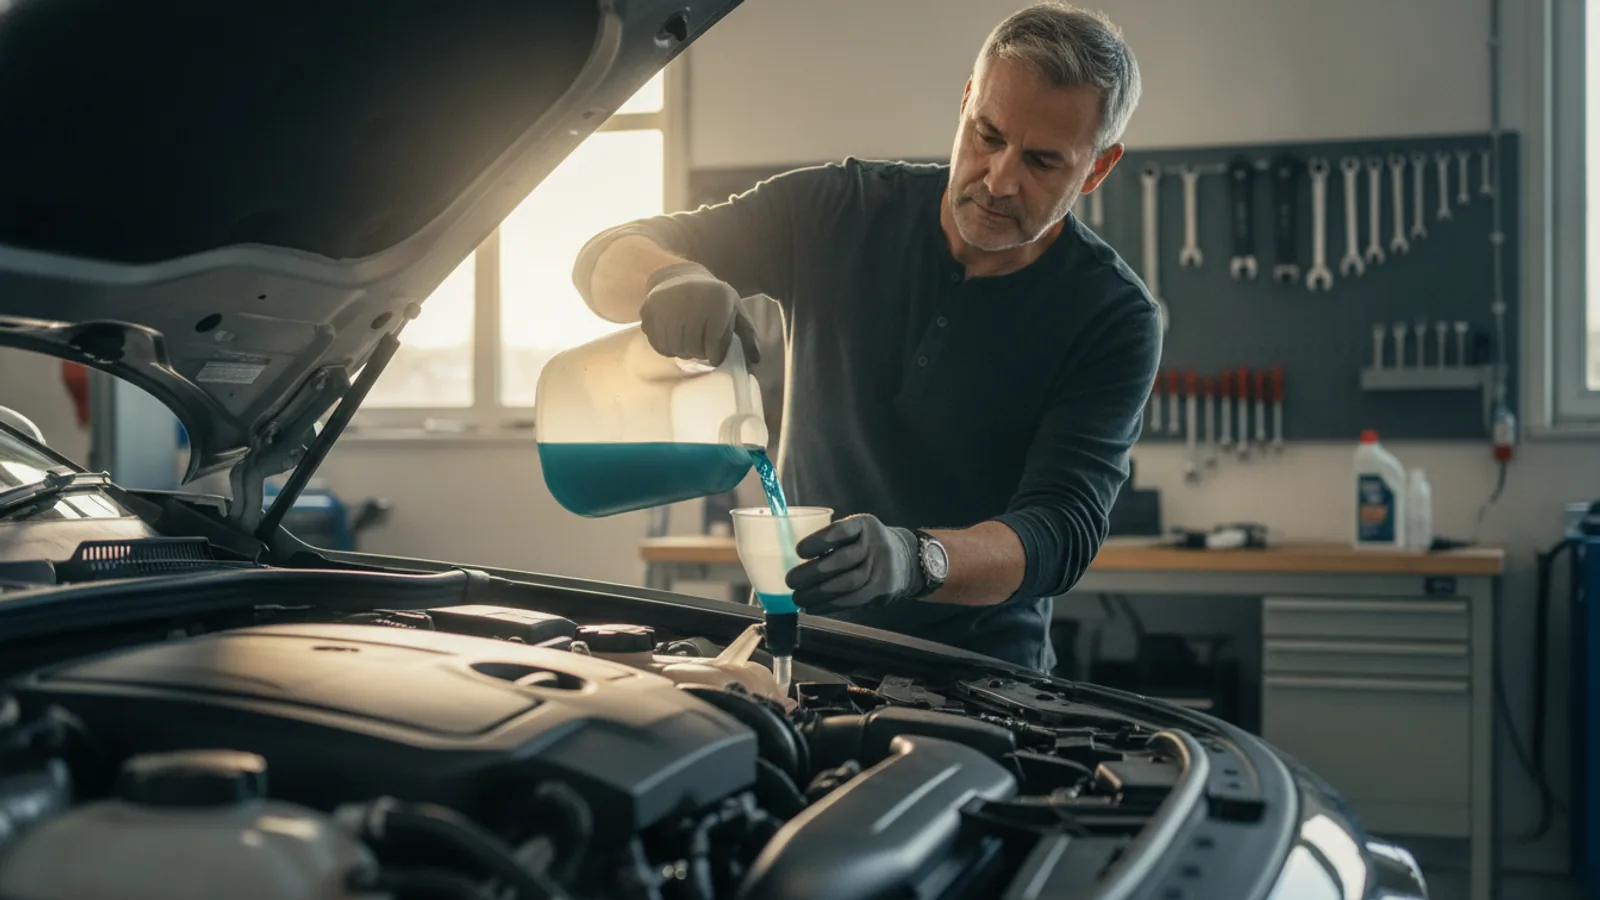
How To Clean Engine Bay
A practical step-by-step guide to how to clean engine bay, including preparation, instructions, common issues, tips, and next steps.
How To Clean Engine Bay
Cleaning your engine bay removes dirt, grease, and debris that can hide leaks, accelerate wear, and even pose a fire risk. A clean engine also runs cooler and makes future maintenance easier. This guide provides a safe, step-by-step method using common household supplies, with a strong emphasis on protecting sensitive components and avoiding water damage. By following these steps, you'll keep your engine bay looking tidy and catch potential issues early, all without risking electrical faults or corrosion.
Fast Answer
- Begin by covering sensitive parts with plastic bags and aluminum foil, then spray a degreaser on a cool engine, scrub gently, and rinse with a low-pressure water stream.
- Dry the engine bay thoroughly by starting the engine and letting it idle with the hood open, or use compressed air to blow out water from crevices.
Before You Start
- Ensure the engine is completely cool to the touch; spraying cold water on a hot engine can crack engine blocks or manifolds.
- Gather safety gear: nitrile gloves, safety glasses, and a long-sleeved shirt to protect your skin from degreasers and grime.
- Collect supplies: a quality degreaser, soft-bristled brushes, a spray bottle, plastic bags, rubber bands, aluminum foil, a microfiber towel, and a bucket of water.
- Park on a slight incline or block the wheels so the car doesn't roll, and have a flashlight handy to inspect hidden areas.
Step-by-Step Instructions
Protect Sensitive Components
Before you introduce any liquid, identify and shield the components that must stay dry. Start by locating the fuse box, which is often a black plastic box with a removable lid, and wrap it tightly in a plastic bag secured with a rubber band. Next, cover the alternator, which is typically a cylindrical metal part with wires attached, using aluminum foil that you press around it. Also, cover the air intake opening (where the engine breathes) and any exposed electrical connectors, such as those on the spark plug wires or coil packs. To protect the engine’s air filter, either remove it or cover its housing intake with a plastic bag. This step is critical because water intrusion into electrical components can lead to shorts, corrosion, and engine misfires. By taking the time to cover these areas, you prevent costly repairs and ensure that the cleaning process remains safe for your engine’s electronics. Double-check that all covers are secure before proceeding.
Apply Degreaser to the Engine Bay
Now that the sensitive parts are shielded, you can apply the degreaser. Select a dedicated engine degreaser or a mild all-purpose cleaner appropriate for automotive use. Shake the bottle well and spray it evenly over the engine block, valve covers, and other greasy areas. Start at the bottom of the engine and work your way up, because gravity will pull the grime downward; starting low prevents the cleaner from running over fresh areas. Make sure to cover the entire engine bay, including the inner fender wells and the underside of the hood, but avoid oversaturating areas around the distributor and ignition coils. Let the degreaser sit for the time specified on its label, usually five to ten minutes, to break down oil and grease. This dwell time is essential because it allows the chemicals to penetrate stubborn deposits, making the subsequent scrubbing more effective. If the degreaser dries out, it can leave a film, so don't let it sit too long, and reapply if necessary.
Scrub the Engine Surfaces
After the degreaser has soaked, it's time to scrub. Use a soft-bristled brush, such as a parts brush or an old paintbrush, to gently scrub the painted surfaces, plastic covers, and aluminum parts. Work in sections, starting from the top and moving down, so that the loosened dirt falls onto yet-to-be-cleaned areas, which you'll then address. Pay extra attention to areas with heavy oil buildup, like around the oil filler cap, the valve cover gasket, and any spots where leaks may have occurred. Use a smaller brush, like an old toothbrush, for tight crevices and around clamps and hoses. As you scrub, you'll see the dirt and grease suspending in the degreaser. This mechanical action is crucial because it lifts the grime from the surface so that it can be rinsed away. Do not scrub electrical connectors or sensors directly, even if they are covered; just do a gentle wipe around them. Once you're done scrubbing, let the degreaser and dirt mixture settle for a minute so it doesn't smear later.
Rinse with a Low-Pressure Stream
Rinsing must be done carefully to avoid forcing water into sensitive areas. Use a garden hose fitted with a spray nozzle set to a gentle, wide fan, not a jet setting. Begin by rinsing from the top of the engine bay and move downwards, letting the water flow naturally across surfaces. Keep the nozzle moving to avoid concentrating water in one spot, and never aim the hose directly at the fuse box, alternator, or air intake area, even if they are covered. If possible, hold the nozzle a few inches away and use a sweeping motion. The goal is to wash away the loosened dirt and degreaser, not to blast off stubborn grime. After the first rinse, inspect the surfaces to see if any greasy spots remain. If so, spot-clean those areas with a brush and a small amount of degreaser, then rinse again. After rinsing, remove the plastic bags and foil, and dry the most sensitive connections with a microfiber towel or compressed air. This process removes residues that can attract new dirt and prevent corrosion.
Dry the Engine Bay and Connections
Thorough drying is essential to prevent electrical issues and rust. Start by starting the engine and letting it idle for a few minutes with the hood open. The engine's heat will help evaporate any remaining moisture from nooks and crannies. While it idles, use a microfiber towel to wipe down visible surfaces, including the inside of the hood, and dry around the battery terminals. Use compressed air or a leaf blower to blow out water from electrical connectors, fuse box cavities, and areas where wires enter the firewall, but do not blow water further into the wiring. Pay special attention to the spark plug wells; if water accumulates there, it can cause misfires. If you have access to an air compressor, set it to a low pressure and gently blow out each well. Once the engine has run and the surfaces feel dry to the touch, let the engine cool down before closing the hood. This drying step reduces the risk of corrosion and prevents that mysterious 'check engine' light from turning on.
Inspect for Issues and Final Wipe Down
With the bay clean and dry, it's an ideal time to inspect for potential problems. Look for signs of leaks, such as fresh oil or coolant stains on the engine block, hoses, or underneath the car. Check the condition of belts and hoses for cracks, wear, or brittleness, and ensure all fluid caps are on tight. Also, examine the battery terminals for corrosion, which appears as white or bluish powder; if present, clean it with a solution of baking soda and water, then apply a thin layer of grease to prevent recurrence. Use a clean microfiber towel to give the entire engine bay a final wipe-down, removing any remaining spots or film. Look for any wire insulation damage or loose clips that you might have dislodged during cleaning. This inspection is a bonus benefit of cleaning – you're likely to catch small issues before they become big repairs. By doing this regularly, you can save money and time in the long run.
Quick Reference
| Situation | Action | Why it helps |
|---|---|---|
| You see oil puddles or dark stains on the engine after drying, indicating a possible leak. | Locate the source of the leak by inspecting the valve cover gasket, oil filter, and oil pan; clean the area again and monitor for a few days, then have a mechanic check it if it persists. | Cleaning reveals hidden leaks, and a clean surface makes it easier to pinpoint the exact source without dirt masking it. |
| The check engine light comes on after cleaning, or the engine misfires or runs rough. | Open the hood and check the fuse box, alternator, and electrical connectors for moisture; use compressed air to dry them, and if the issue continues, disconnect the battery for a minute to reset the system. | Water intrusion in electrical parts can cause shorts or false sensor readings; drying and resetting often resolves the issue. |
| Rust or corrosion appears on metal parts or battery terminals after washing. | Use a wire brush and a baking soda paste to clean the terminals, and apply a thin layer of petroleum jelly or terminal grease to protect them; for other rust, treat with a rust-inhibiting spray. | Moisture left on bare metal promotes corrosion; corrosion on battery terminals can cause poor electrical contact and starting problems. |
Common Issues
- Water droplets remain in spark plug wells, leading to engine misfires.: Use compressed air to blow out each spark plug well thoroughly before starting the engine, and consider coating the inside of the well with dielectric grease when replacing plugs.
- Degreaser residue leaves a dull or sticky film on plastic and painted surfaces.: Wipe down surfaces with a damp microfiber cloth and then a dry one, or use a dedicated plastic dressing product after cleaning to restore a factory-like finish.
- The fuse box or alternator gets wet despite being covered, causing intermittent electrical problems.: Unplug the affected connectors, dry them with a contact cleaner or compressed air, let them air dry completely, then reconnect and seal with dielectric grease.
Advanced Tips
- For extra protection, after drying, apply a thin coat of silicone spray to unpainted plastic hoses and wire looms, but avoid rubber belts and pulleys to prevent slipping.
- Use cotton swabs dipped in isopropyl alcohol to clean electrical connectors that show signs of corrosion, ensuring they are completely dry before reconnecting.
- If your engine bay has heavy grease buildup, consider using a foam-based degreaser that clings better to vertical surfaces and allows longer dwell time.
Final Checklist
- All plastic bags and aluminum foil removed from the fuse box, alternator, and air intake.
- Engine bay bone dry, especially around spark plugs, electrical connectors, and battery.
- Inspected for leaks, cracked hoses, and corroded terminals; addressed any issues found.
- Hood closed and engine started; no warning lights or unusual noises present.
FAQ
How often should I clean my engine bay?
It's generally recommended to clean your engine bay at least once or twice a year, depending on your driving conditions. If you drive on dusty or muddy roads, or if you notice leaks or heavy grease buildup, you may need to do it more frequently. A good rule of thumb is to clean it whenever you do an oil change, spring and fall, or before a major trip. Regular cleaning helps you spot early signs of wear and keeps components functioning properly.
Can I use dish soap or household cleaners instead of an engine degreaser?
Yes, you can use a mild dish soap diluted in water, as it is safe for most engine surfaces. Avoid harsh chemical household cleaners like bleach, oven cleaners, or abrasive powders, as they can damage painted finishes and plastic parts. A dedicated engine degreaser is formulated to break down grease more effectively and is safer for rubber and plastic components. Always test any cleaner on a small, hidden area first to ensure it doesn't cause damage.
Is it safe to wash the engine bay with a pressure washer?
It is not recommended to use a pressure washer because the high-pressure spray can easily force water into electrical connectors, sensors, and the fuse box. This can cause short circuits, corrosion, and expensive damage. Even with protective covers, the force of the water can bypass them. The safest approach is to use a garden hose with a gentle spray setting, or a bucket of water and a brush. If you must use a pressure washer, use the lowest pressure setting and keep the nozzle far away from sensitive areas, but it's best to avoid it altogether.