How To Check Engine Oil
A practical step-by-step guide to how to check engine oil, including preparation, instructions, common issues, tips, and next steps.
How To Check Engine Oil
Checking your engine oil is a simple, essential maintenance task that keeps your car running smoothly and prevents costly engine damage. This guide walks you through every step, from gathering supplies to interpreting the dipstick reading, with practical tips and troubleshooting advice. By the end, you'll be able to check your oil with confidence and know exactly when to top up or change it.
Fast Answer
- Park on level ground, turn off the engine, wait 5 minutes, then pull the dipstick, wipe it, reinsert, and pull again to read the level.
- If the oil level is between the 'MIN' and 'MAX' marks, it's fine. If it's below 'MIN', add oil in small amounts, checking after each addition.
Before You Start
- Ensure the vehicle is parked on a flat, level surface and the engine is turned off and cool (or at least 5 minutes after stopping).
- Open the hood and locate the oil dipstick, usually identifiable by a bright yellow, orange, or red handle labeled 'ENGINE OIL' or an oil can icon.
- Have a clean, lint-free cloth or paper towel ready to wipe the dipstick.
- If you plan to top up the oil, have the correct grade of engine oil as specified in your vehicle's owner's manual.
Step-by-Step Instructions
Prepare Your Vehicle for an Accurate Reading
To get an accurate oil level reading, you must park your car on a flat, level surface. If the car is on a slope, the oil will shift to one side of the pan, giving a false reading. Turn off the engine and wait at least 5 to 10 minutes for the oil to drain back into the oil pan. This waiting period is crucial because immediately after driving, the oil is still circulating through the engine and has not yet settled, which would lead to a misleadingly low reading. If you check the oil when the engine is hot, you also risk serious burns from hot oil on the dipstick. So, pop the hood and locate the dipstick—usually a bright-colored loop or tab near the engine—and make sure you have your cloth ready before proceeding.
Pull the Dipstick and Wipe It Clean
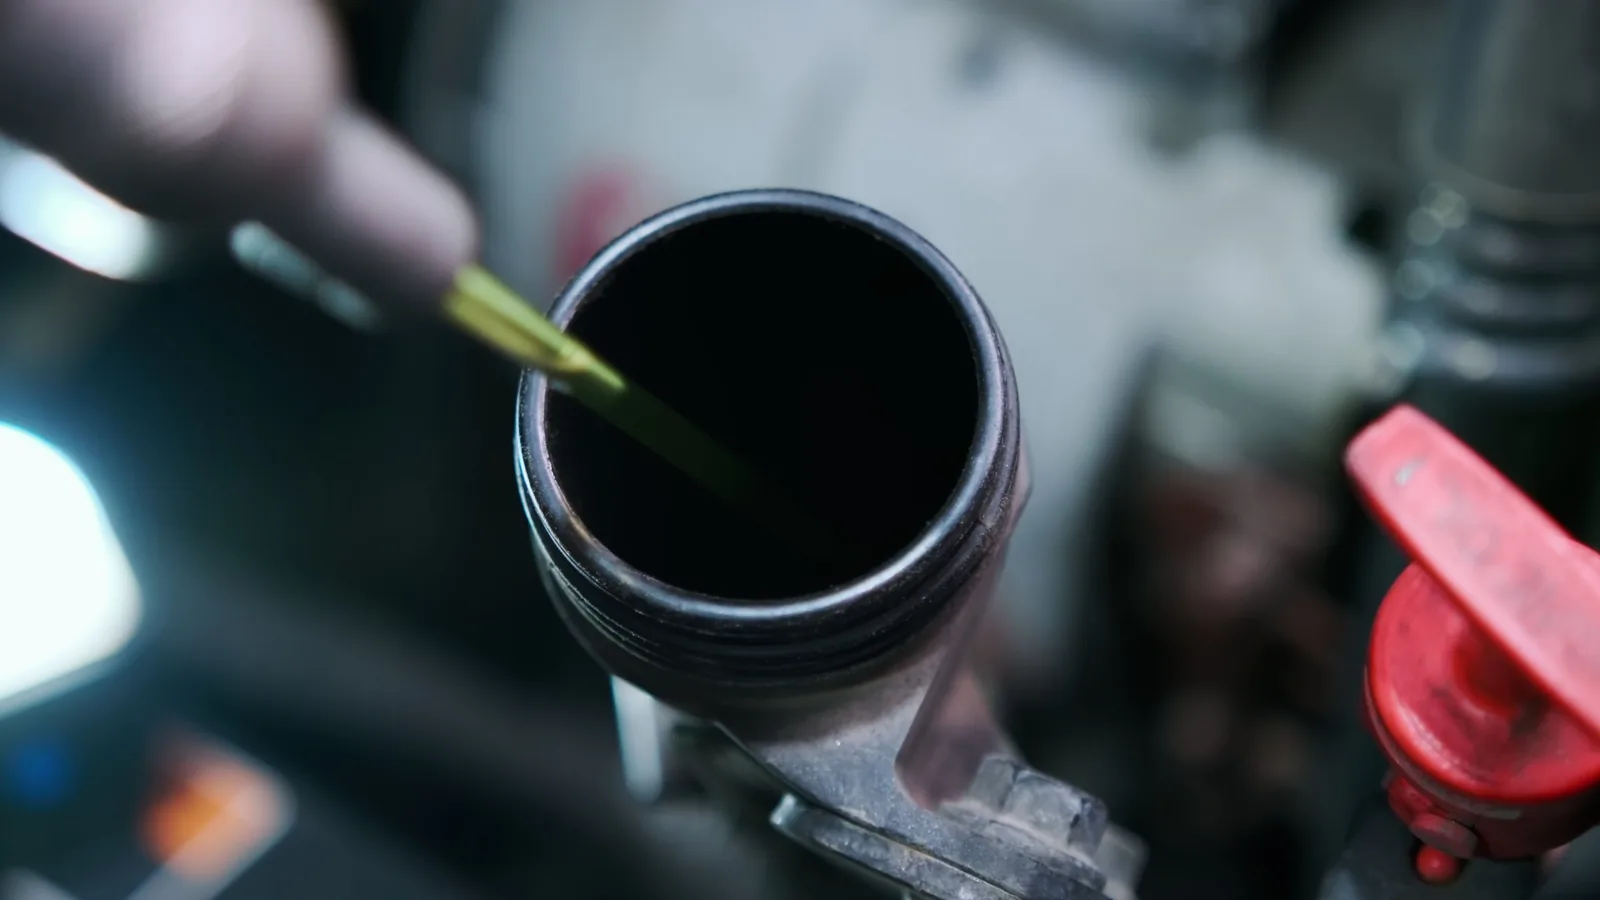
Carefully pull the dipstick out of its tube. Hold it by the handle and pull slowly to avoid splattering oil. Once it's out, wipe it with your clean, lint-free cloth using a single stroke from the handle end to the tip. This step is vital because if you don't wipe the dipstick, the oil that clings to the outside of the tube will smear onto the dipstick, giving you an inaccurate indication of the actual oil level. Also, any dirt or debris on the dipstick could contaminate the engine if you reinsert it. After wiping, inspect the dipstick to ensure it's clean and free of residue. Then, set it aside on a clean surface while you prepare to reinsert it, but make sure you don't drop it or let it pick up dirt.
Reinsert the Dipstick Fully
Take the wiped dipstick and gently push it back into its tube all the way until the handle seats firmly at the top. Make sure you don't twist it or force it; it should slide in smoothly. If you don't insert it completely, the oil level mark will be lower than it actually is, causing you to overfill the engine with oil. Overfilling can lead to high oil pressure, which can cause gaskets to leak and even damage engine seals. Also, ensure the dipstick is oriented correctly so that it goes in straight. Once it's fully inserted, push it down a bit to ensure a snug fit, then pull it out immediately in one smooth motion. The oil level you see will be a true representation of how much oil is in the pan.
Read the Oil Level Correctly
Withdraw the dipstick and hold it horizontally at eye level to read the oil level. The dipstick has two marks: the lower 'MIN' or 'ADD' mark and the upper 'MAX' or 'FULL' mark. The correct oil level should be somewhere between these two marks, ideally close to the 'MAX' mark without exceeding it. If the oil level is below the 'MIN' mark, you need to add oil. If it's at or slightly above the 'MAX' mark, you may have too much oil, and you should drain some or seek assistance. Reading the level accurately is crucial because running the engine with too little oil can cause friction and severe engine wear, while too much oil can damage seals and cause foaming, which reduces lubrication efficiency.
Assess the Oil's Condition and Need for Top-Up
While you have the dipstick out, take a moment to inspect the oil's condition. Rub a small amount of oil between your fingers to feel for grit or a gritty texture, which could indicate dirt or metal particles. The oil color should range from clear amber to light brown; very dark, black oil could mean it's dirty and needs a change. Additionally, check for any signs of milky or frothy oil, which could indicate coolant leaking into the engine—a serious problem. If the oil level is below 'MIN' but the oil appears clean, you only need to top it up. However, if the oil is thick, sludgy, or smells burnt, you may need an oil change. Always check your owner's manual for the recommended oil type and change intervals.
Top Off the Oil as Needed
If the oil level is low, you need to add oil. First, locate the oil filler cap on top of the engine—it's usually labeled 'OIL' or has an oil can symbol. Remove the cap and pour in a small amount of oil, about a quarter of a quart (or half a cup), using a funnel to avoid spills. Reinstall the cap, then wait a minute, and repeat the dipstick check to see where the level is now. Continue adding small increments until the level reaches the 'MAX' mark. This stepwise approach is critical because overfilling is just as harmful as underfilling. Never pour in a large amount at once, as you might overshoot. After adding oil, recheck the level without driving the car to ensure it's correct. Always use the type of oil specified in your owner's manual to avoid damaging the engine.
Quick Reference
| Situation | Action | Why it helps |
|---|---|---|
| You check the oil right after driving and the level looks low. | Park on level ground, wait 10 to 15 minutes for the engine to cool and oil to drain back, then recheck the dipstick following the proper procedure. | Immediately after driving, the oil is still distributed throughout the engine, giving a false low reading; waiting ensures the oil settles in the pan for an accurate measurement. |
| The dipstick shows the oil level is exactly at the 'MIN' mark. | Add a small amount of the correct oil type, approximately one quart or as recommended, then recheck the level to avoid overfilling. | Operating with oil at the minimum mark risks insufficient lubrication under high-demand conditions, potentially causing engine wear; topping up brings it into the safe range. |
| You notice the oil has a milky appearance on the dipstick. | Do not drive the vehicle; have a professional mechanic inspect immediately, and check your coolant level for signs of a leak. | Milky oil indicates coolant is mixing with the engine oil, which can cause severe engine damage and must be addressed by a professional as soon as possible. |
Common Issues
- Dipstick reading is lower than expected even after adding oil.: Recheck the oil level after the engine has been off for several minutes. If it persists, you may have an oil leak or the engine is consuming oil. Inspect for drips under the car and consult a mechanic.
- Oil level appears above the 'MAX' mark.: Too much oil can cause foaming and excess pressure. You'll need to drain some oil. Use a siphon or loosen the drain plug carefully, or take it to a service station to have the excess removed.
- The dipstick is hard to remove or reinsert.: Stop trying to force it. Clean around the dipstick tube opening with a rag, then twist the handle gently while pulling. If it's still stuck, have a professional look at it to avoid breaking the dipstick tube.
Advanced Tips
- For the most consistent reading, always check the oil from a cold engine in the morning before starting, as this provides a baseline with the engine oil settled and at ambient temperature.
- If you drive mostly in stop-and-go traffic or extreme temperatures, you may need to check your oil more frequently than the standard recommendation, as these conditions cause faster oil degradation.
- Keep a log of your oil level checks and additions. A sudden decrease in oil level or a consistent need to add more than a quart between changes can indicate a hidden problem that warrants professional diagnosis.
Final Checklist
- Parked on level ground, engine off and cool for at least 5 minutes.
- Located the dipstick and have a clean cloth ready to wipe it.
- Pulled, wiped, reinserted fully, and read the dipstick at eye level.
- If low, added oil in small increments and rechecked until level is within safe marks.
FAQ
How often should I check my engine oil?
It's a good habit to check your engine oil once a month or before any long road trip. Some modern vehicles have electronic oil monitors, but physically checking the dipstick is still reliable. Refer to your owner's manual for the recommended schedule, as it may vary depending on your vehicle and driving habits.
What does it mean if my oil is dark brown or black?
Dark brown or black oil is often simply due to normal aging and contamination from combustion byproducts. However, if the oil feels gritty or thick, it may have accumulated sludge, and a change is needed. Check the oil's consistency with your fingers; if it doesn't feel slippery, it's time for a change.
Can I add oil when the engine is hot?
It's best to let the engine cool down for at least 10 minutes before adding oil. Adding oil to a hot engine is not usually harmful, but also not ideal because the oil level reading will be inaccurate. To avoid inaccurate readings and burns, always check and add oil with a cool engine.