How To Disconnect A Car Battery
A practical step-by-step guide to how to disconnect a car battery, including preparation, instructions, common issues, tips, and next steps.
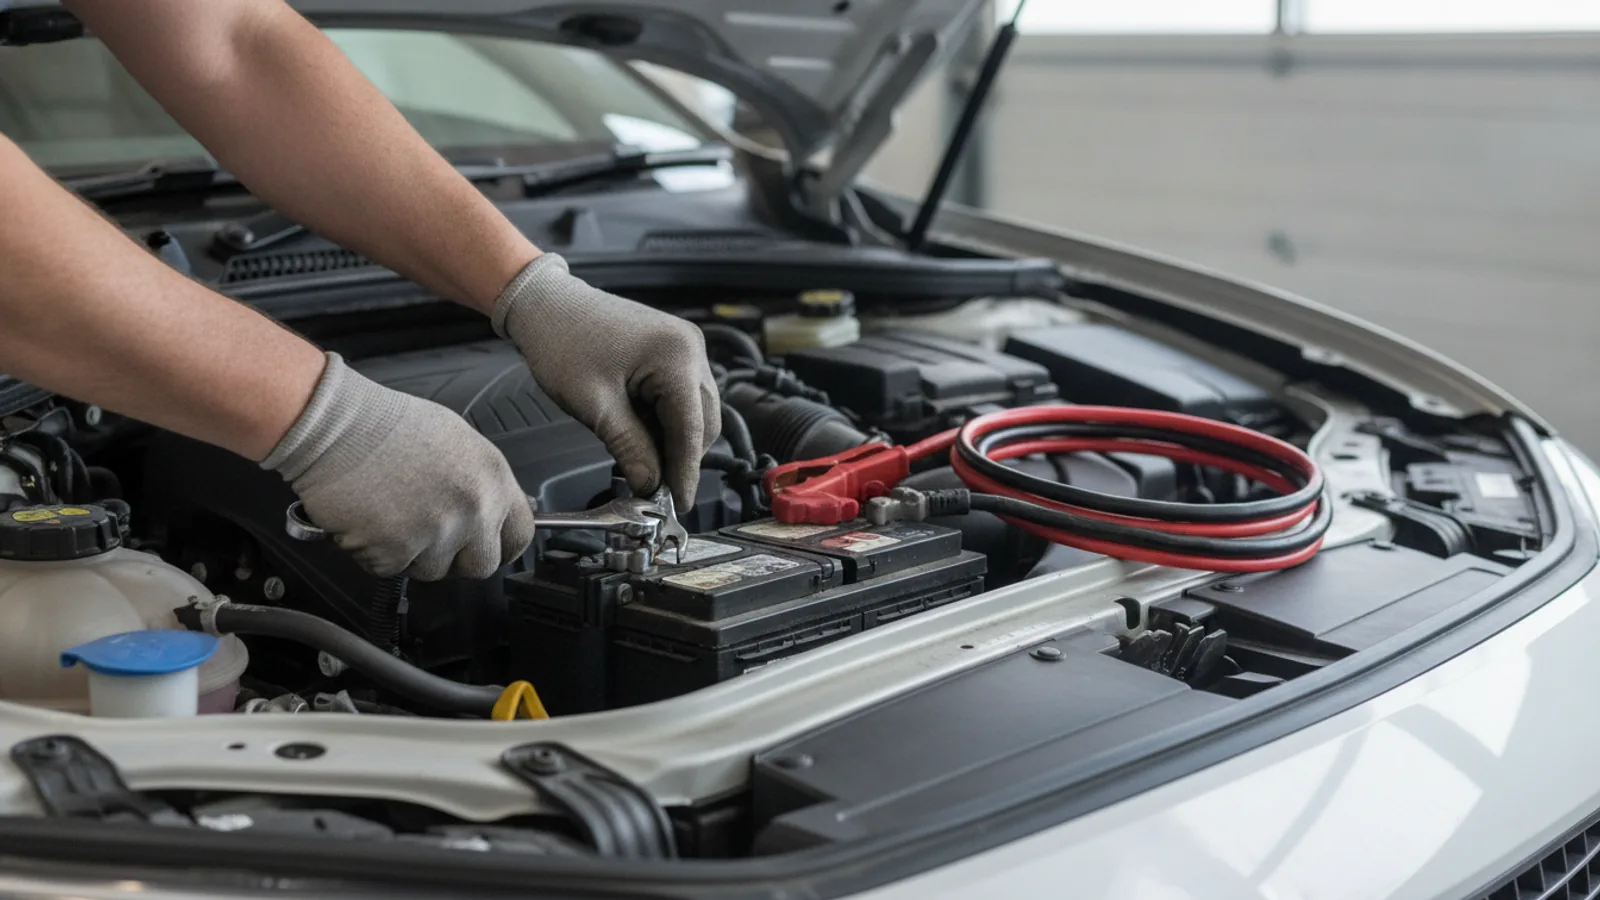
How To Disconnect A Car Battery
Disconnecting a car battery is a fundamental skill for DIY maintenance, repairs, or storage. This guide walks you through the process safely, ensuring you avoid electrical shorts, personal injury, and damage to your vehicle's electronics. You'll learn how to prepare, which terminal to remove first, how to handle the battery properly, and how to reconnect it correctly. We also cover common issues and quick reference for emergencies.
Fast Answer
- Park on a flat surface, turn off the engine, and remove the keys. Never smoke or have open flames nearby.
- Loosen the negative (black) terminal nut first with a wrench, then lift the cable off and secure it away from the battery. Then do the same for the positive (red) terminal.
Before You Start
- Ensure the vehicle is parked on a level surface, the ignition is off, and the keys are removed from the ignition to prevent accidental electrical flow.
- Put on safety glasses and gloves that are non-conductive to protect your eyes and hands from acid and sparks.
- Identify the positive and negative battery terminals: the positive has a red cover or a plus sign, the negative is black and has a minus sign.
- Gather your tools: a wrench or socket set that fits your battery terminal nuts, and a battery terminal cleaner or wire brush for post-cleaning.
Step-by-Step Instructions
Park and Prepare Your Vehicle
Begin by parking your car on a level, stable surface and engaging the parking brake. Turn off the engine and remove the keys. This prevents any accidental electrical surge when you disconnect the battery. Open the hood and secure it with the rod. Look for the battery, usually a rectangular box with two cables attached. Identify the positive terminal, often marked with a red cap or a plus sign, and the negative terminal, marked with a black cap or a minus sign. If the terminals are corroded with a white or blue powdery substance, note that you may need to clean them after disconnection. Ensure you have enough lighting to work safely. This preparation ensures you have a stable work area and prevents the car from rolling or starting unexpectedly.
Disconnect the Negative Terminal
Locate the negative terminal, which is usually marked with a black color or a minus sign. Using a wrench or socket, loosen the nut that secures the cable clamp to the battery post. Turn the nut counterclockwise to loosen it. Do not completely remove the nut; just loosen enough to wiggle the clamp. Once loose, use your hands (with gloves) to gently twist and pull the cable clamp upward, away from the battery post. If it refuses to move, you can use a battery terminal puller, but never pry with a screwdriver as you may damage the battery casing. After removal, secure the cable end away from the battery (like laying it on the engine block) to prevent it from touching the positive terminal. This step is critical because it breaks the circuit and reduces the chance of sparks when working near the battery.
Disconnect the Positive Terminal
With the negative cable safely disconnected, you can now work on the positive terminal. The positive terminal is typically connected to a red cable and may have a red plastic cover. If there is a cover, flip it open or remove it. Use your wrench to loosen the nut on the positive cable clamp, turning counterclockwise. Again, keep the nut on the bolt, just loosened. Pull the clamp off the post with a twisting motion. If the clamp is stuck, use the same technique as before: a gentle wiggle or a proper puller. Once removed, place the cable away from any metal surfaces. Double-check that the two cables are not touching each other or any metal parts, as this could cause a short circuit even with the engine off. After both connections are free, you can safely remove the battery from the vehicle if needed, or proceed with your maintenance.
Inspect and Clean the Terminals and Cables
After the battery is disconnected, inspect both the battery posts and the cable clamps. Look for signs of corrosion (white, blue, or green powder), rust, or damage. If you see corrosion, use a wire brush or a battery terminal cleaner to scrub the posts and the inside of the clamps. You can also make a paste of baking soda and water to neutralize acid, but ensure the paste doesn't enter the battery cells. Rinse with water and dry completely. For severely corroded cables, consider replacing them. This inspection ensures a clean, low-resistance connection when you reconnect the battery, which helps your charging system and electrical components work efficiently. Also, check the battery case for cracks or leaks; if you find any, handle with care and consider professional replacement.
Reconnect the Positive Terminal
When you're ready to reconnect, always start with the positive terminal. Slide the positive cable clamp over the positive post (which has a plus sign or is larger in diameter). Press it down securely, and tighten the nut clockwise until the clamp is snug. Be careful not to over-tighten, as this can strip the threads or crack the battery case. A good rule of thumb is to give it a quarter turn after the clamp is seated. Ensure the clamp is fully seated and doesn't wiggle. The reason for connecting the positive first is that when you connect the negative, it completes the circuit. If you were to connect the negative first, and then touch the positive with a tool, you'd create a short through the tool. This order reduces risk of sparks near the battery.
Reconnect the Negative Terminal and Test
Finally, reconnect the negative terminal. Slide the negative clamp over the negative post (marked with a minus sign), press it down, and tighten the nut. Again, ensure it's snug but not over-tightened. After both terminals are connected, check that the clamps are secure by trying to wiggle them. Then, close any plastic covers on the terminals. Start the vehicle to ensure it cranks properly. If the car has an alarm or clock, you may need to reset it, as it lost power. Let the engine run for a few minutes to allow the alternator to recharge the battery, especially if it was disconnected for a while. Your battery is now properly connected and your vehicle is ready for use.
Quick Reference
| Situation | Action | Why it helps |
|---|---|---|
| You need to disconnect the battery for storage or maintenance. | Always disconnect the negative (black) cable first, then the positive (red) cable. Secure the cables away from the battery. | This order prevents short circuits and sparks by breaking the circuit safely. |
| You're about to reconnect the battery after maintenance. | Connect the positive (red) cable first, tighten, then connect the negative (black) cable. | Connecting positive first minimizes the risk of arcing when you connect the negative last. |
| Battery terminals have white or blue corrosion buildup. | Clean the posts and clamps with a wire brush and a baking soda/water paste, rinse, and dry. | Corrosion increases resistance and can cause starting problems or charging issues. |
Common Issues
- Battery terminals are too tight to loosen by hand: Use a penetrating oil (like WD-40) on the nut and let it sit for a few minutes, then use a wrench. If the terminal is corroded, use a battery terminal puller (a tool that grips under the clamp) to gently pry it off without damaging the battery.
- Cable clamps are cracked or broken: Replace the cable clamp or the entire battery cable. You can buy a universal clamp at an auto parts store and attach it to the existing cable, or purchase a pre-made cable for your vehicle. Ensure the replacement is the correct size and type.
- After reconnecting, the car won't start: Check that the clamps are tight and clean, and that the battery posts are not damaged. Also verify the connections are not reversed (positive to negative). If the car has an anti-theft system, it may need a code or a reset procedure. Consult your owner's manual.
Advanced Tips
- Before disconnecting, write down your radio code or anti-theft code if you have one, as the battery disconnection may reset your stereo and require a code to function.
- If you're disconnecting for long-term storage, use a battery maintainer (trickle charger) plugged in to a wall outlet to keep the battery charged and in good condition.
- Always use a memory saver (a small 9-volt battery that plugs into the cigarette lighter) to preserve ECU settings and stereo presets during battery replacement.
Final Checklist
- Park on a level surface, turn off the engine, and remove the keys.
- Disconnect the negative cable first, then the positive cable.
- Clean any corrosion from terminals and cable clamps.
- Reconnect the positive cable first, then the negative, and ensure both are tight.
FAQ
How long can a car battery sit disconnected?
A battery that is disconnected can lose charge over time, typically around 1-2% per day. In a month, you may have lost significant charge, so it's best to reconnect and run the engine for at least 15 minutes every few weeks, or use a trickle charger.
What happens if I accidentally touch both terminals with a wrench?
Touching both terminals creates a short circuit, which can cause sparks, heat, and potentially an explosion if hydrogen gas is present. Always remove jewelry and use insulated tools. If you accidentally arc, step back and wait for the battery to vent before touching it.
Will disconnecting the battery reset my car's computer?
Yes, disconnecting the battery clears the memory of the engine control unit (ECU) and other modules. This means you'll lose radio presets, clock settings, and learned driving adaptations. The car may run rough for a few miles until the ECU relearns, but it's usually not harmful.