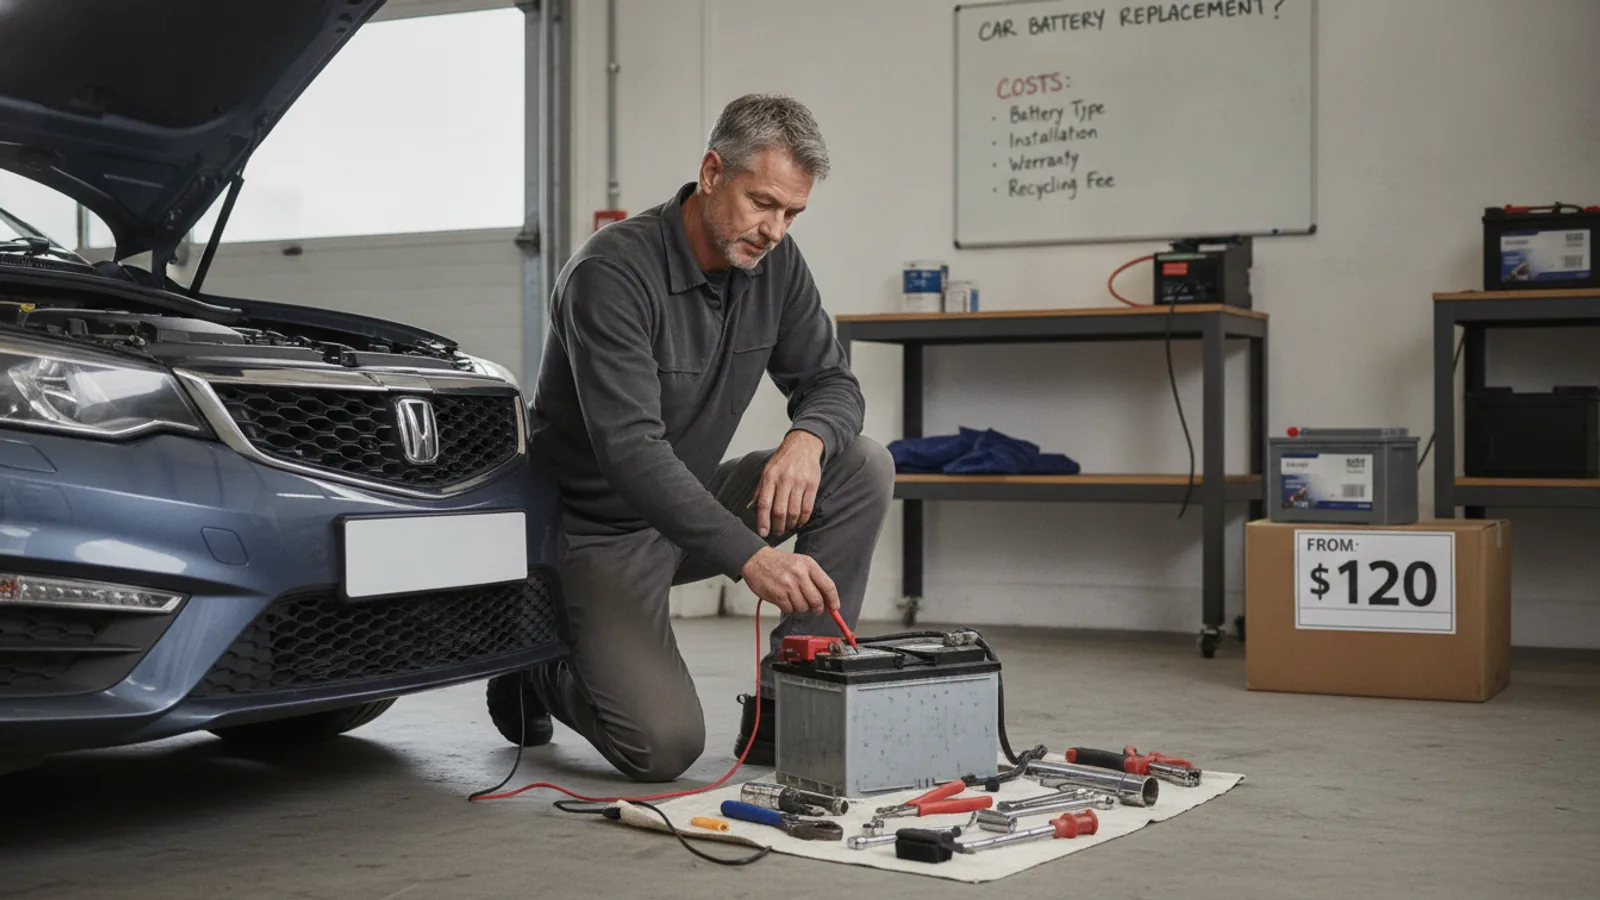
How Often To Replace Car Battery
A practical step-by-step guide to how often to replace car battery, including preparation, instructions, common issues, tips, and next steps.

How Often To Replace Car Battery
A car battery typically lasts between three and five years, but its lifespan depends on driving habits, climate, and vehicle type. This guide explains how to determine the right replacement interval for your battery, recognize warning signs of failure, and safely replace it yourself. You'll learn how to test your battery, when to seek professional help, and how to extend its life with simple maintenance. Regular checks and knowing the signs of a dying battery can prevent unexpected breakdowns and costly roadside emergencies.
Fast Answer
- Most car batteries need replacement every 3 to 5 years, but check your owner's manual and test the battery annually after the 3-year mark.
- If your engine cranks slowly, headlights dim at idle, or you need frequent jump-starts, replace the battery promptly.
Before You Start
- Turn off the engine and all electrical accessories, then put on safety glasses and gloves to protect yourself from acid and sparks.
- Find the battery in your car—usually under the hood but sometimes in the trunk or under a seat—and consult your owner's manual for specific instructions.
- Gather tools: a wrench or socket set (typically 10mm), a wire brush or battery terminal cleaner, and a battery terminal protector spray or petroleum jelly.
- Place a piece of cardboard or a shop rag on the fender to avoid scratches, and ensure the area is well-ventilated.
Step-by-Step Instructions
Check the Battery's Age and Condition
Look for a manufacture date sticker on the battery case; it usually shows a month and year (like 3/21 or a letter code). If the battery is over three years old, mark it for testing. Inspect the terminals and case for corrosion (a white or blue powdery substance), cracks, or bulges. Corrosion can interfere with electrical flow, while a swollen case may indicate overcharging or internal damage. If you see any damage, replacement is needed regardless of age. Also, check that the hold-down bracket is secure and the terminal connections are tight. This initial check helps you decide if a load test is necessary. If the battery is clean and younger than three years, you might still need testing if you notice any performance issues.
Test the Battery Voltage and Load
Use a digital multimeter to measure the resting voltage. With the engine off, connect the red lead to the positive terminal and black to negative. A healthy battery reads around 12.6 volts or higher. If it's below 12.4 volts, the battery is partially discharged and may need charging or replacement. For a more accurate check, perform a load test using a dedicated battery tester or take the battery to an auto parts store for testing. A load test simulates the strain of starting the engine, revealing if the battery can hold up under stress. If the voltage drops dramatically during the test, the battery lacks capacity and should be replaced. Record the results and compare them to the manufacturer's specifications. If your battery fails the test, skip to step 5; if it passes, you can extend its life.
Gather Necessary Tools and Safety Gear
Before starting the replacement, ensure you have the correct new battery for your vehicle. Check your owner's manual for the group size, cold cranking amps, and terminal layout. Buy a battery that matches these specs. You'll need safety glasses, rubber or nitrile gloves, a wrench or socket set, a wire brush or terminal cleaner, and anti-corrosion spray or petroleum jelly. Also, have a battery carrier strap or heavy gloves to lift the battery—it can weigh over 30 pounds. Clear the area around the battery and ensure you have adequate workspace. If the battery is in a tight spot, you might need a long extension bar. Double-check that the engine is off and the keys are out of the ignition to avoid any electrical surges.
Disconnect the Battery Cables Safely
Turn off the engine and all accessories. Always remove the negative terminal (usually black and marked with a minus sign) first. Loosen the bolt on the negative cable clamp using a wrench, then gently twist and pull the clamp off the terminal. Tuck the cable away from the battery to avoid accidental contact. Next, loosen and remove the positive terminal (red, plus sign) in the same way. Removing the negative first reduces the risk of a short circuit if your wrench touches a metal part while working. Once both cables are disconnected, visually inspect the terminals and cables for corrosion, fraying, or damage. If the cables are damaged, they may also need replacement. Use a terminal puller if the clamps are stuck, but avoid prying with a screwdriver that could damage the battery case.
Remove the Old Battery and Install the New One
Loosen the hold-down bracket with a socket or wrench and remove it. Lift the battery out slowly, using both hands or a carrier, keeping it upright to avoid spilling acid. Place the old battery on a flat surface. Before installing, clean the battery tray and the terminal clamps using a wire brush and a baking soda-water solution if needed. Put the new battery in the tray, ensuring the terminals are on the correct side according to your vehicle's orientation. Secure the hold-down bracket tightly but not overly so—it should not compress the battery case. Remove any protective caps from the new battery's terminals. Reconnect the positive cable first, then the negative. Tighten the clamps until they are snug, but do not over-torque, which can damage the terminals. Apply a thin coat of anti-corrosion spray or petroleum jelly to the terminals and cable ends.
Test the New Battery and Reset Electronics
Start the engine to confirm the new battery works. The starter should crank quickly and the engine start smoothly. While the engine runs, check the battery voltage at the terminals with a multimeter; it should read around 13.5 to 14.5 volts, indicating that the alternator is charging the battery properly. If the voltage is lower, the alternator may have an issue. Additionally, you may need to reset your car's electronics, such as the clock, radio presets, and power windows, which often lose memory when the battery is disconnected. Consult your owner's manual to see if any special reset procedures are needed for your car's computer system. Let the engine idle for a few minutes to allow the alternator to charge the new battery. Finally, dispose of your old battery properly by taking it to a recycling center or auto parts store that accepts batteries.
Quick Reference
| Situation | Action | Why it helps |
|---|---|---|
| Battery age is unknown or more than 3 years old | Test the battery with a load tester and check the manufacture date; consider replacing if it fails the test. | Batteries lose capacity with age, and testing reveals if it can handle the starting load. |
| Engine cranks slowly or takes multiple tries to start | Test the battery voltage and have it load-tested; replace if it is weak or fails the test. | Slow cranking indicates insufficient starting power, often because the battery cannot deliver enough current. |
| Corrosion on battery terminals or cables | Clean the terminals with a wire brush and baking soda solution, and tighten connections; replace if corrosion is severe or cables are damaged. | Corrosion increases electrical resistance, reducing the battery's ability to deliver power and can cause intermittent failures. |
Common Issues
- Battery dies after sitting for a few days: Test for parasitic drain by connecting a multimeter in series between the negative cable and battery post; pull fuses one by one to find the circuit causing the draw. Fix the drain or see a mechanic.
- Battery terminals are corroded: Disconnect cables, clean terminals and cable ends with a wire brush and baking soda-water paste, rinse with water, dry, then reconnect and apply anti-corrosion spray.
- New battery still causes starting problems: Check the alternator's output voltage (should be around 13.5-14.5 volts), and inspect the starter and cables for loose connections or damage. If necessary, have a professional diagnose the charging system.
Advanced Tips
- Use a battery maintainer or trickle charger if you store your car for more than two weeks to prevent deep discharge that shortens battery life.
- In extreme hot or cold climates, test your battery twice a year rather than once, and consider a battery with a higher cold cranking amp rating.
- Minimize short trips (under 10 minutes) that don't let the alternator fully recharge the battery; combine errands to extend battery life.
Final Checklist
- Check the battery's manufacture date and age, and if over three years old, schedule a load test.
- Clean any corrosion from terminals and cables, and ensure all connections are tight and secure.
- Test the battery's voltage every six months with a multimeter and replace if it falls below 12.4 volts after charging.
- Inspect your vehicle's charging system at each oil change to catch alternator problems early.
FAQ
How do I know if my car battery needs replacing?
You can test the battery's voltage with a multimeter and perform a load test. Signs like slow cranking, dim headlights, and frequent jump-starts indicate a weak battery. Also, check the age and any corrosion or damage.
Can I replace my car battery myself?
Yes, if you have basic tools and follow safety precautions. Always disconnect the negative terminal first, avoid sparks, and ensure you buy the correct battery. If you're uncertain, consult your owner's manual or a professional.
What happens if I don't replace a dying battery?
A dying battery can leave you stranded and may damage the alternator or starter due to overworking. In cold weather, starting becomes harder, and the battery may fail completely. It's best to replace it before it fails.